Goal & Constraints
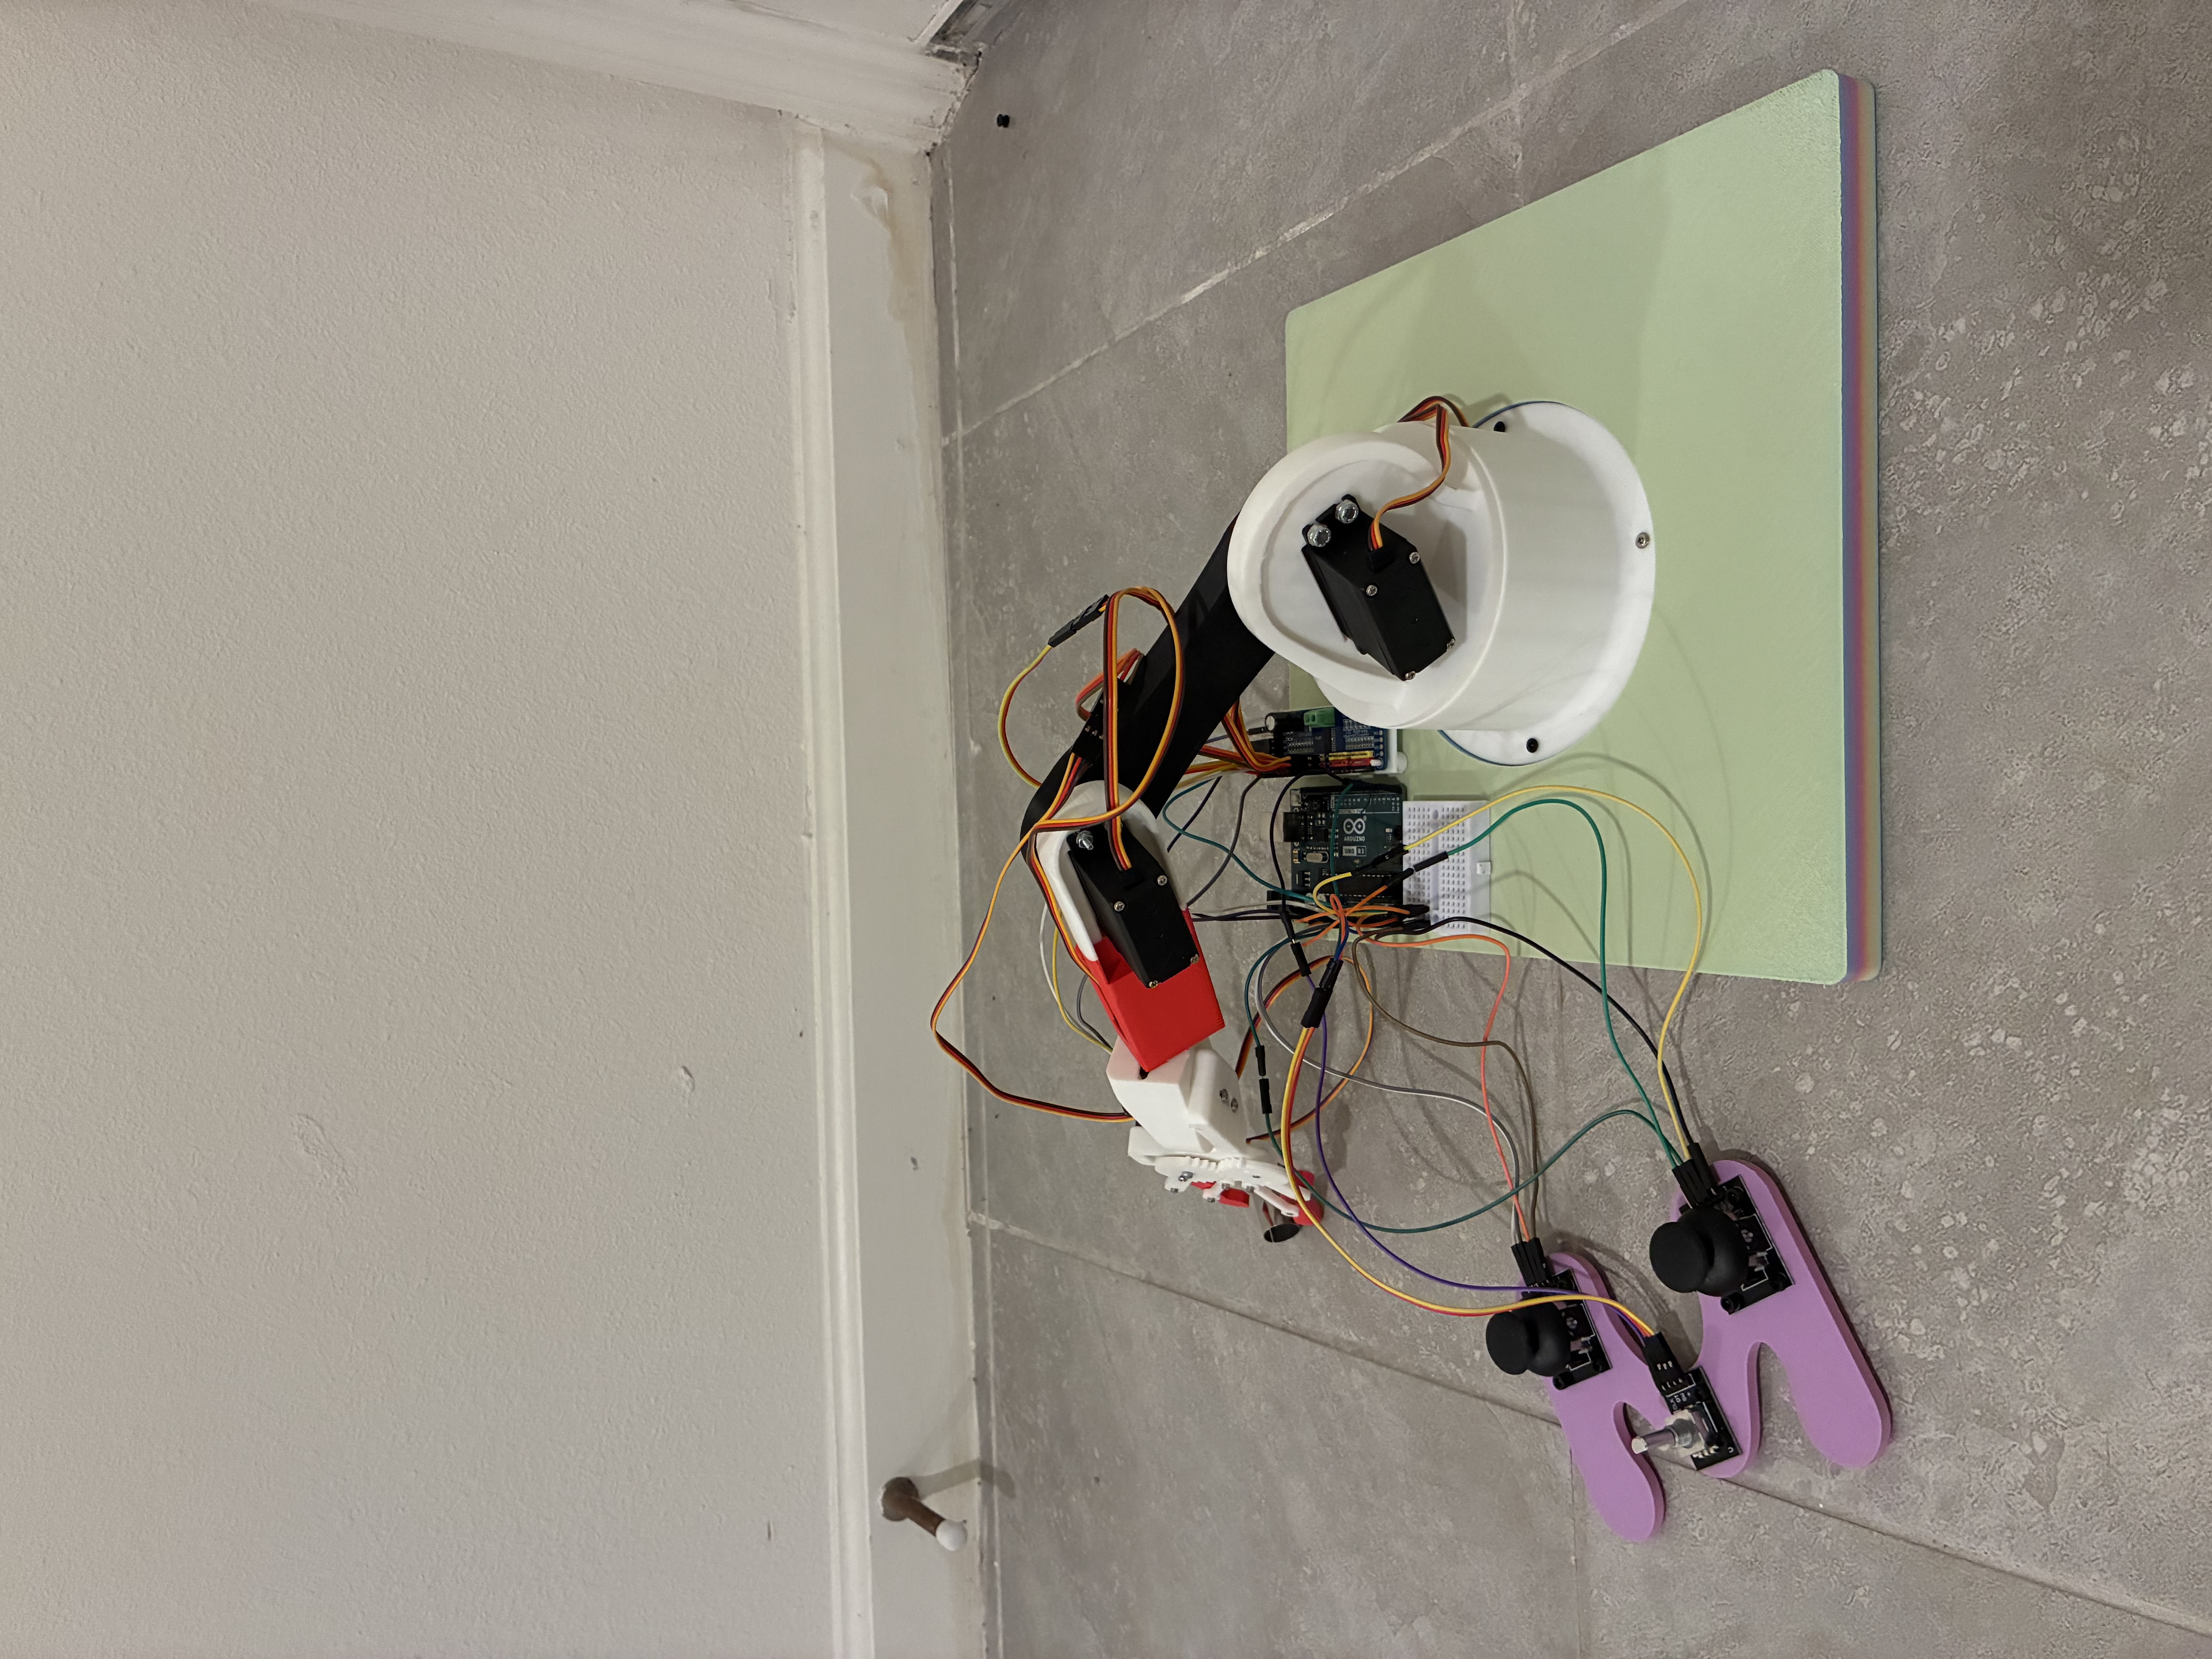
Desktop robotic arm with six servo-driven joints, controlled live by a handheld controller (two joysticks + potentiometer). An Arduino Uno reads the controller and drives all six servos through a PCA9685 PWM driver. Structural parts are 3D printed in white, black, and red, mounted on a layered foam base. Goal: go from raw parts to a working, human-operated manipulator that picks up and places small objects.
My Role
Assembly, wiring, and software.
Design & CAD
Six joints — base, shoulder, elbow, wrist, gripper. MG996R servos drive the main joints; the gripper uses a geared servo.
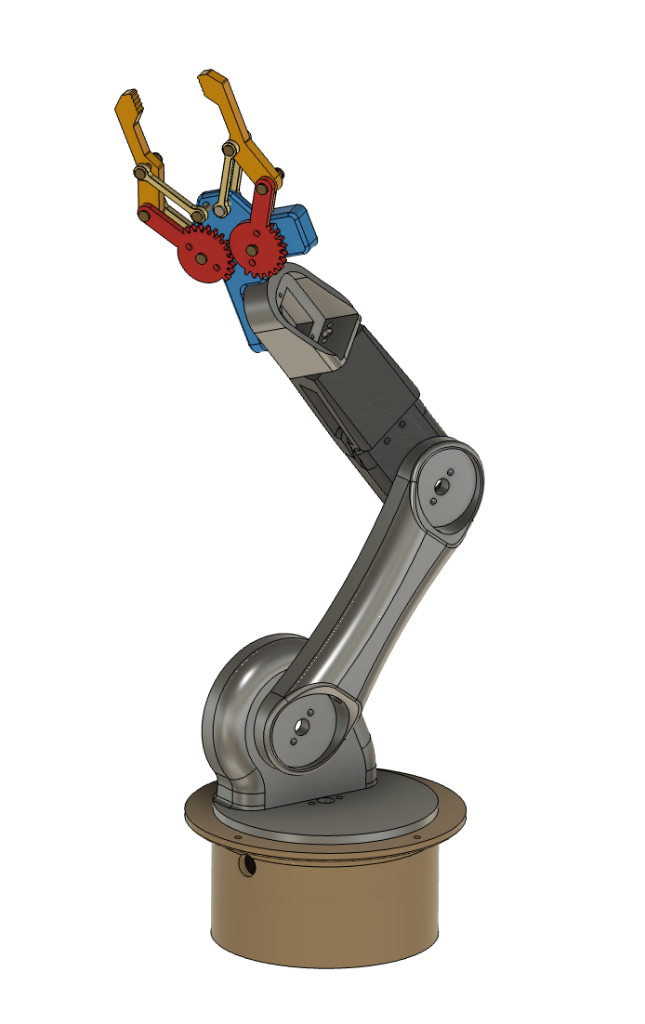
Full arm CAD — base, arm, forearm, wrist, gripper
Hardware
| Component | Qty | Role |
|---|---|---|
| Arduino Uno | 1 | Reads controller inputs, computes servo angles |
| PCA9685 16-channel PWM servo driver | 1 | Generates PWM for all servos over I²C |
| Servo motors | 6 | Base, shoulder, elbow, wrist pitch, wrist roll, gripper |
| Analog joystick modules | 2 | Two axes each for joint control |
| Rotary potentiometer | 1 | Dedicated control for one joint |
| Breadboard and jumper wires | — | Signal and power distribution |
| External servo power supply | 1 | Powers servos separately from the Arduino |
| 3D-printed arm, gripper and controller parts | — | Structure, gears, joystick mounts |
System Design
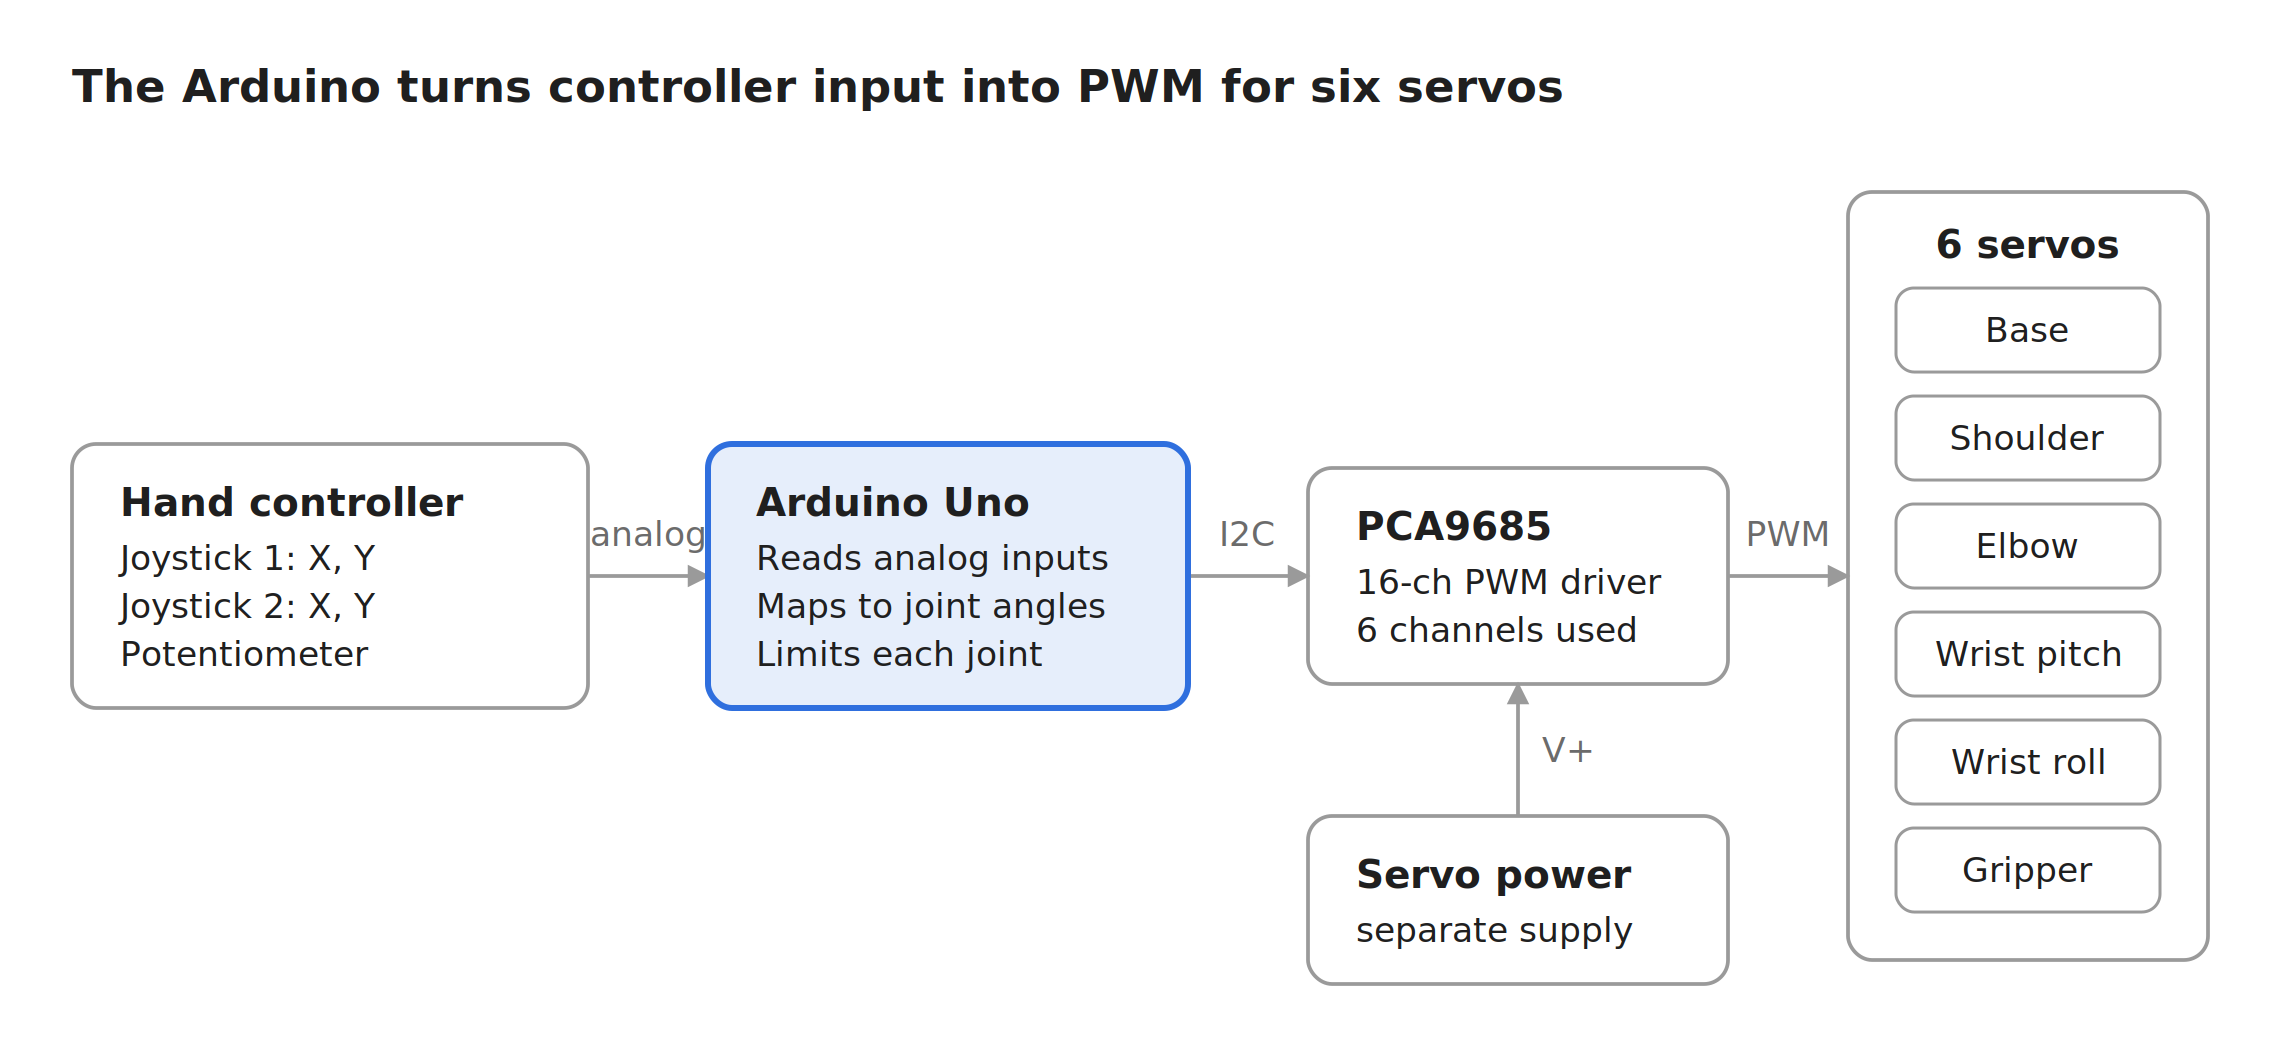
Controller → Arduino → PCA9685 → servos. Analog readings map to joint angles; the PCA9685 generates one PWM signal per servo over I²C. Mechanical • 3D-printed links; wide cylindrical base houses the rotation servo • Shoulder and elbow carry servos directly at each joint • Gripper uses meshing printed gears — one servo opens both fingers symmetrically Electronics • PCA9685 frees the Arduino's pins and timers and gives each servo stable hardware PWM • Servos run from a separate supply at the driver's V+ — six servos under load draw more than the Uno's 5 V regulator can deliver Control • Read joystick axes + potentiometer, map to a joint angle, clamp to safe range, send to the matching channel • Potentiometer gives absolute control of one joint; each joystick moves two joints at once
Next Step — Wireless
Remove the cable using two Arduino Nano ESP32 boards (built-in wireless). • Boards — one ESP32 in the controller (with battery), one on the arm replacing the Uno • Link — ESP-NOW: direct, fast, no router • Inputs — send joystick + potentiometer values in one packet, many times a second • Code — power inputs from 3.3 V, range 0–4095, average readings to cut noise • Failsafe — on signal drop, the arm stops and holds
Pick & Place Sequence
Dual-joystick controller drives a pick & place cycle — reach, grasp, lift, place.
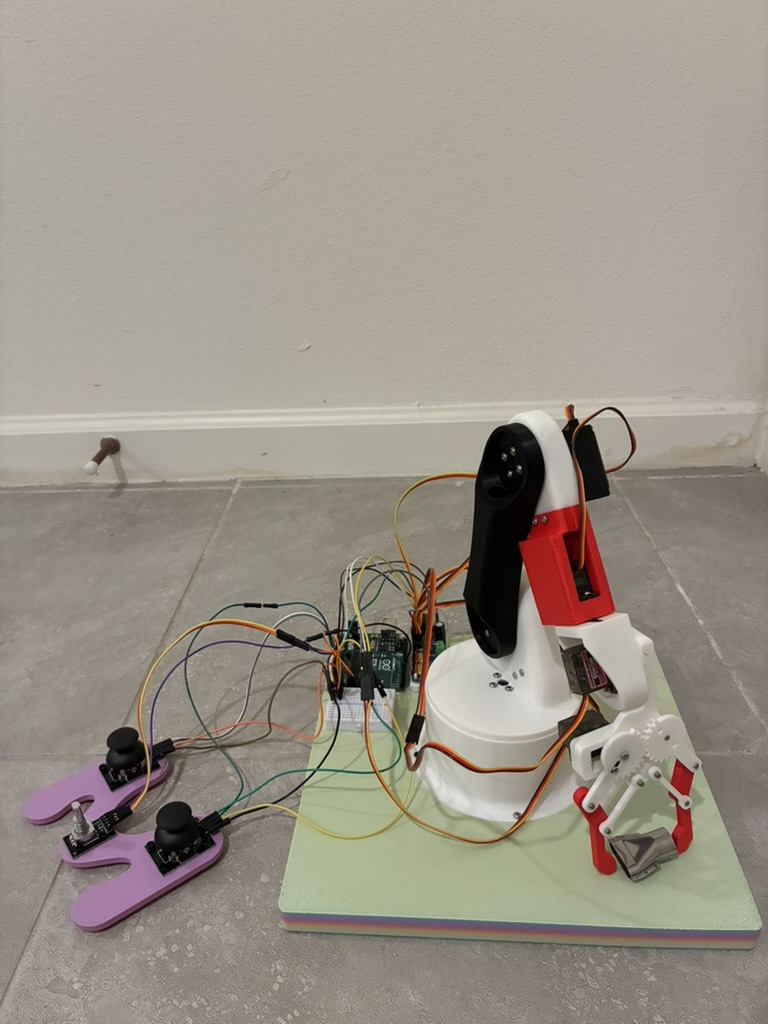
Grasp: Lowers to the base; gripper closes on the object.
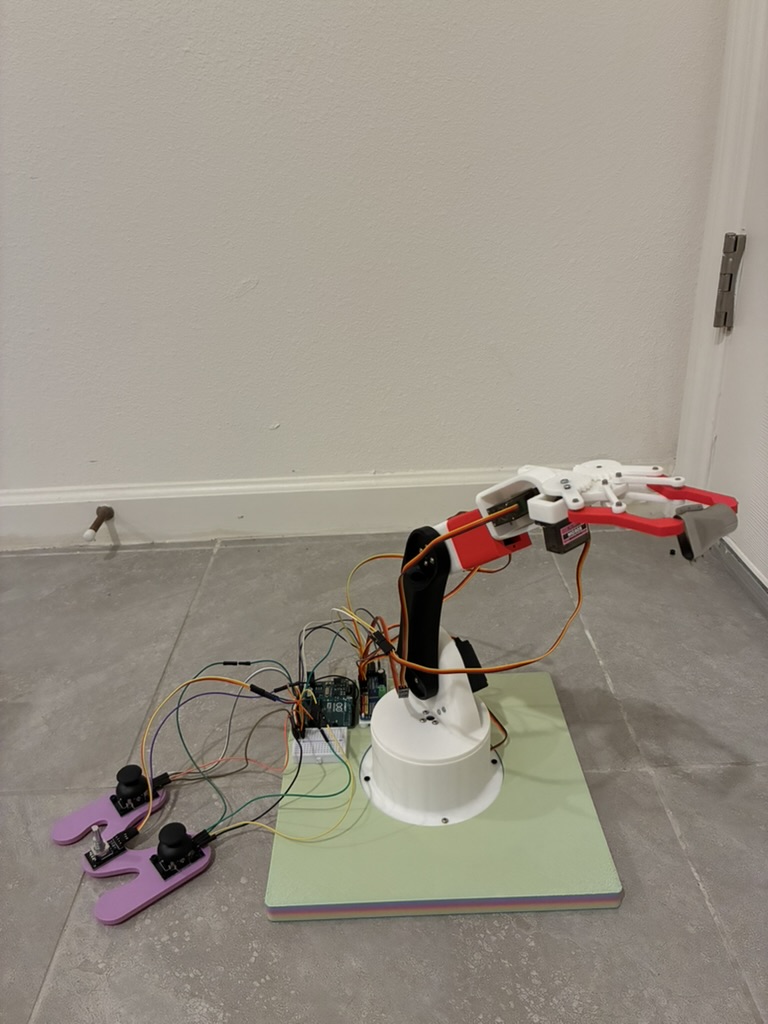
Extend: Reaches out at full horizontal extension.
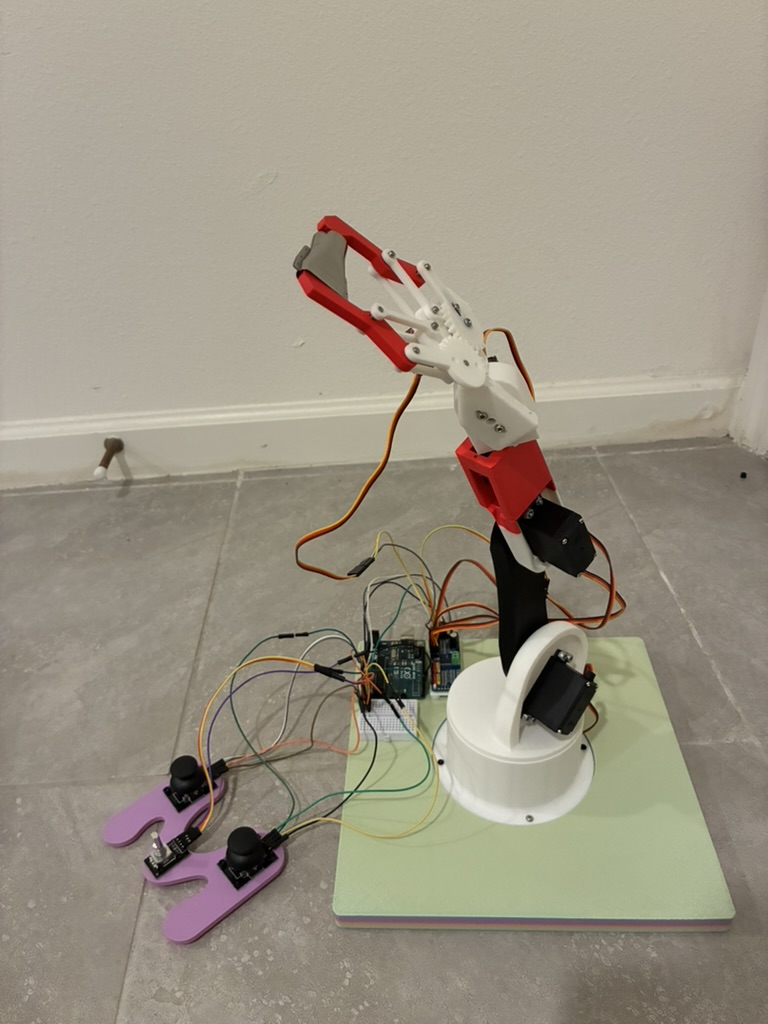
Lift: Shoulder and elbow raise the object.
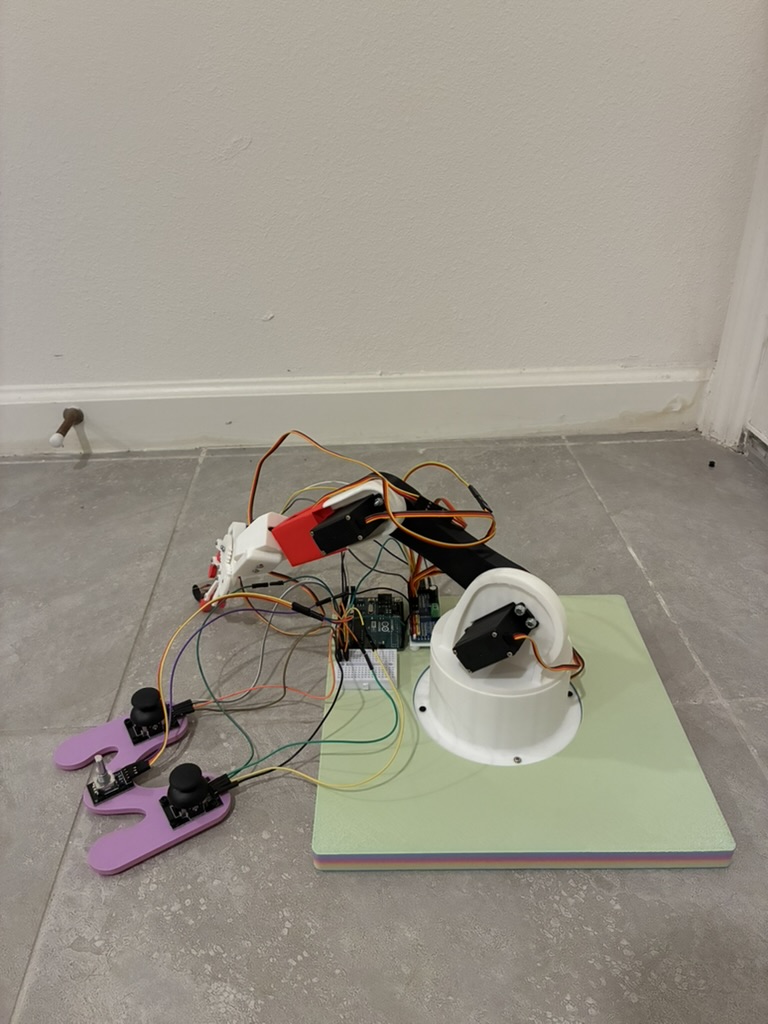
Place: Base rotates; arm folds down to set the object.